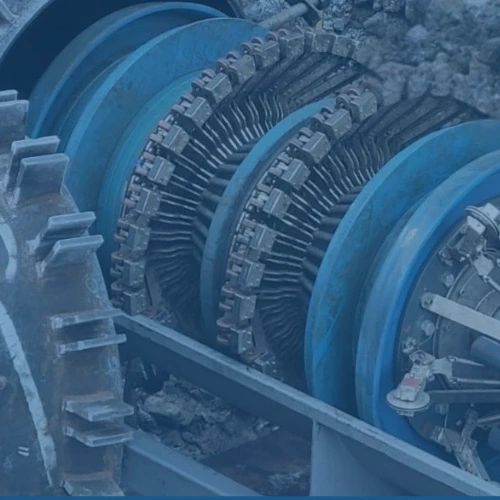
GEO Pipeline Inspection
GEO Inspection captures detailed internal geometry of pipelines, enabling the accurate detection of deformations like dents, buckles, and ovalities.


GEO Inspection focuses on measuring the internal geometry of pipelines. 3P Services’ GEO tools deliver precise geometric data, helping operators identify pipeline deformations such as dents, buckles, and ovalities.

Key Features of GEO Technology
Accuracy
GEO tools offer precise data on length, width, shape, and depth of pipeline deformations.
Reliability
Ensures reliable performance even in high-speed pipelines.
Flexibility
Tools with a low mechanical passage value, suitable for both new and existing pipelines, as well as for pipelines undergoing cleaning.
Availability
For pipe diameters ≥2”: Suitable for a wide range of pipeline sizes.
Case Studies solved with our GEO technology
Browse our case studies to learn how we help operators solve complex pipeline integrity issues.

Pre-Commissioning ILI in compressed air
read more

Turnkey Project – Pumps, Tanks, Traps, Cleaning, Inline Inspections, Drying
read more

ILI on Heavy Wall Subsea Pipeline
read more

16″ heavy wall and pipe-in-pipe
read more

BIDI inspection of 3″ gas lift lines
read more

Launch from a pigging valve
read more

BIDI inspection of unloading lines
read more

BIDI riser inspection
read more

GEO tool detects mitered bends
read more
A GEO service beyond standard geometry
In addition to its GEO technology 3P offers a GEO+ tool, which goes beyond standard geometry measurements and offers a range of additional advantages. It can distinguish whether a signal is caused by actual pipeline deformation or by debris such as sand or other obstructions.
This capability is particularly valuable for tracking cleaning progress in challenging operations, such as long pipelines transporting high-paraffin crude oil. The high-resolution GEO+ data can also be aligned with other inspection data to correlate geometric anomalies with metal loss.
Contact Us
Ensure your pipeline’s geometry is intact with 3P Services’ GEO and GEO+ inspection tools. Contact us for tailored solutions to your pipeline inspection needs.


